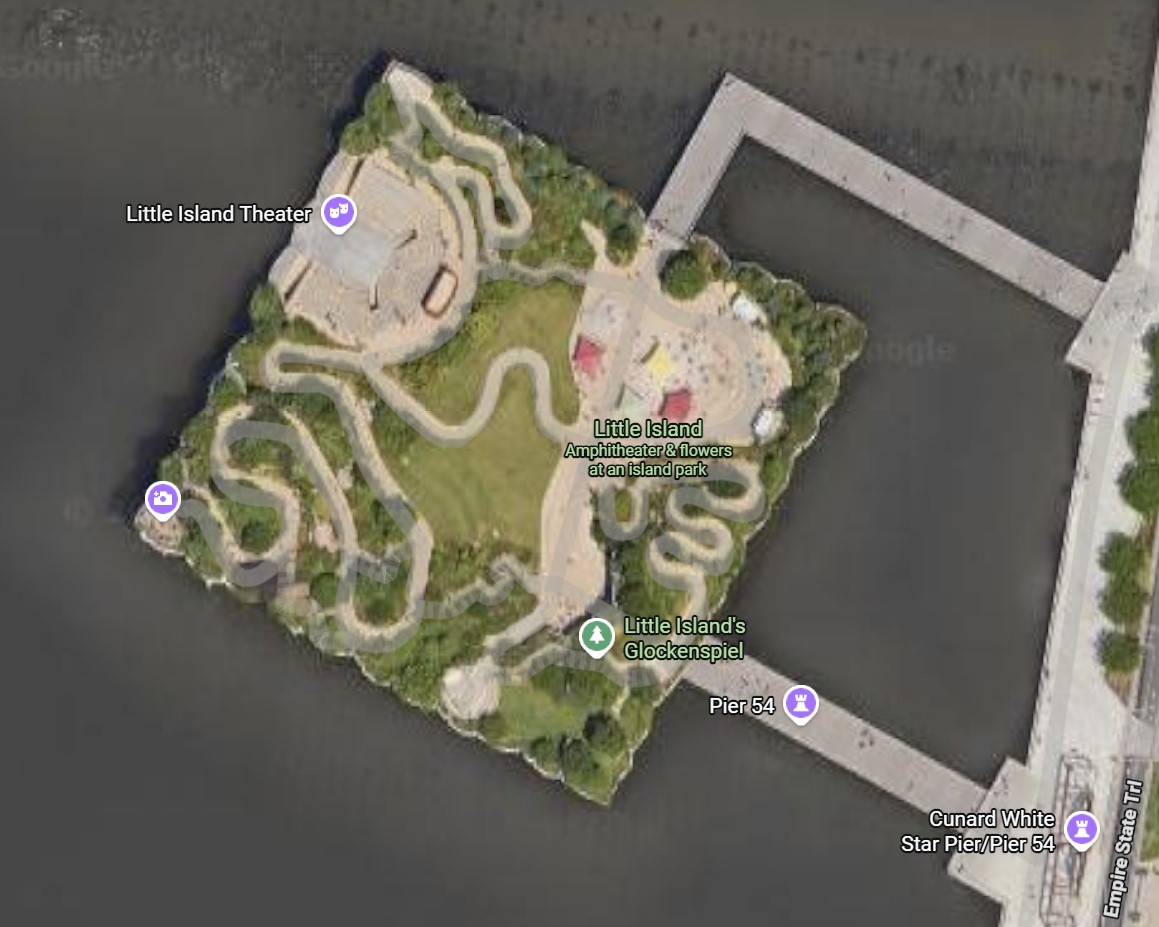
This satellite map view (Courtesy of Google Maps) is of a wonderful artificial island and public park sitting in the Hudson River just off the western shore of Manhattan, called Little Island
In June of 2026 I travelled to New York for a brief visit to help celebrate the high school graduation of our oldest grandson, Leo, along with his family and friends. And, as usual, I also brought along some of my photography gear, just in case. Since I was only visiting for a few days, Leo’s parents, Zack and Karen, decided to introduce me to something they were fairly certain I’d not seen on previous trips. I’m not sure they told me where we were going ahead of getting there but I think I remember that part of the trip was via subway and the rest just walking. If they did mention Little Island before reaching it, I’m sure I didn’t take that to be a proper noun but just something intended to be descriptive.
So, I was quite surprised when we got to one of the bridges connecting the shore to this constructed and well-designed island. We walked around some of the curving pathways; one that actually climbed a hill on the island, until we reached the most western point on the island that was an elevated viewpoint of the Hudson River and the New Jersey shoreline (and, by turning around, even parts of Manhattan). One of the first things I noticed was the amount of water traffic on the river, all traveling in different directions. And, almost as soon as I noticed the traffic I also noticed a few groups of very small watercraft, mostly kayaks, with one or two paddleboards among them. Karen told me that they were likely classes or clubs learning or exercising their skills. I looked at them and worried some about the safety of those very small watercraft.
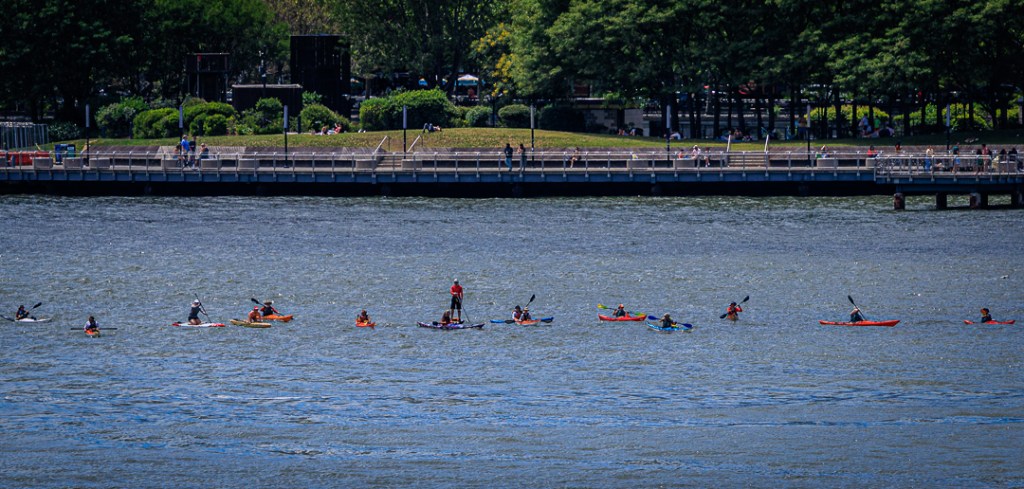
Kayaking group on the Hudson River, NY and NJ (500mm, 1/250 sec, f/9.0, ISO 200) 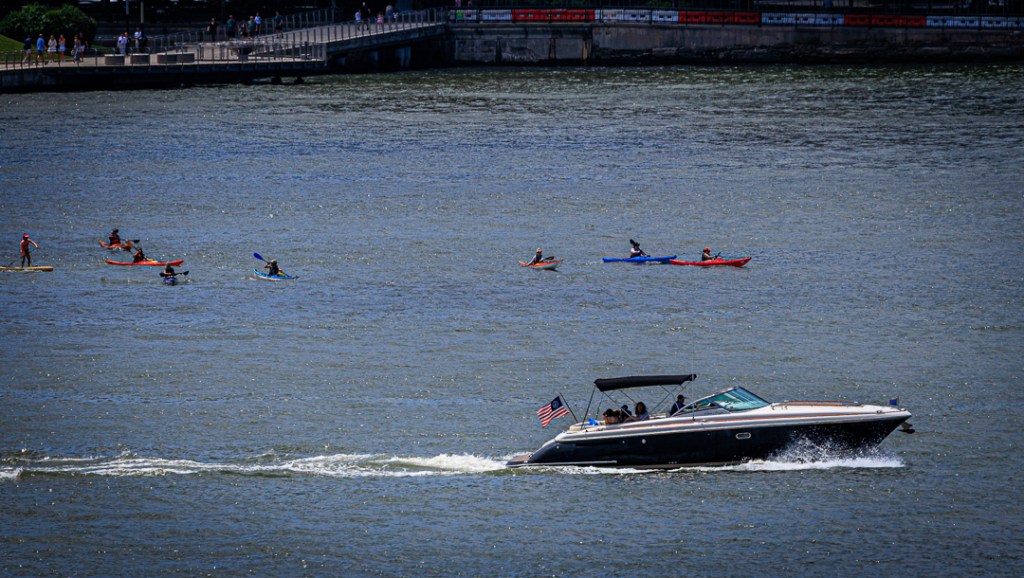
Kayaking group and other boat traffic Hudson River, NY and NJ (500mm, 1/250 sec, f/9.0, ISO 200) 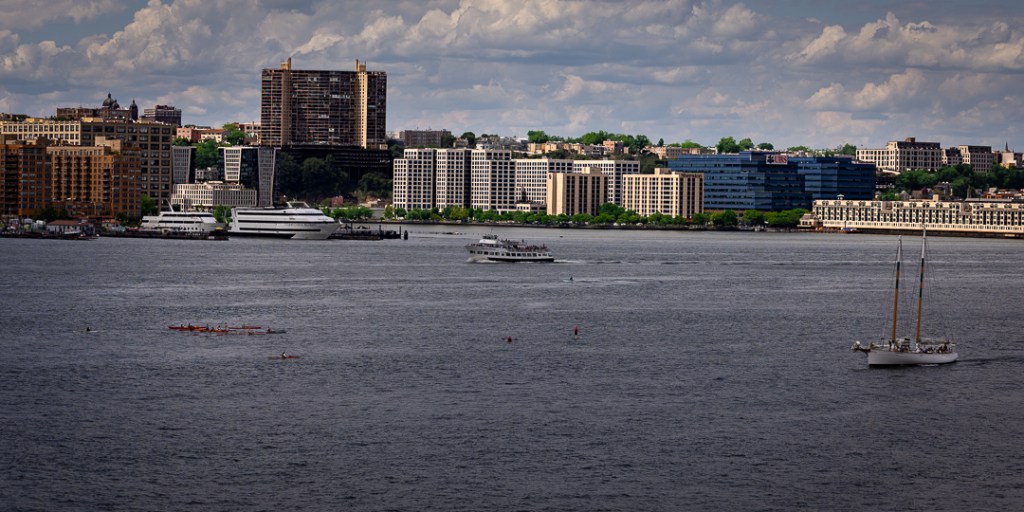
NJ waterfront and various boat traffic Hudson River, NY and NJ (109mm, 1/1000 sec, f/9.0, ISO 200))
I continued to scan the river and the far shore, looking for something that might become an interesting image. Eventually, I saw a tower or something tall that might be that sort of subject. It was quite a distance from us. With the naked eye, it looked something like the little postage stamp view (below) off to the southwest of our position. I asked Zack if that might be the Statue of Liberty.
He agreed, so I took several shots and then zoomed into one on the back of the camera so I could see more detail in the tower. We were correct.
Later (much later, since it is now October), when I opened this image on my computer, I realized it might be an opportunity to share some post processing and composition tips. So, you might choose to skip this section if that kind of stuff bores you.
Post-processing ideas
My first step is to review the image generally to see if it works at all and what might be needed to make it more presentable. Here it is, in its original and unretouched form. I nearly always take photos in RAW format. Many people don’t understand that RAW is not an image format that can be viewed but a file with lots of camera sensor information describing an image. Each camera company will have their own proprietary RAW format(s).1, 2
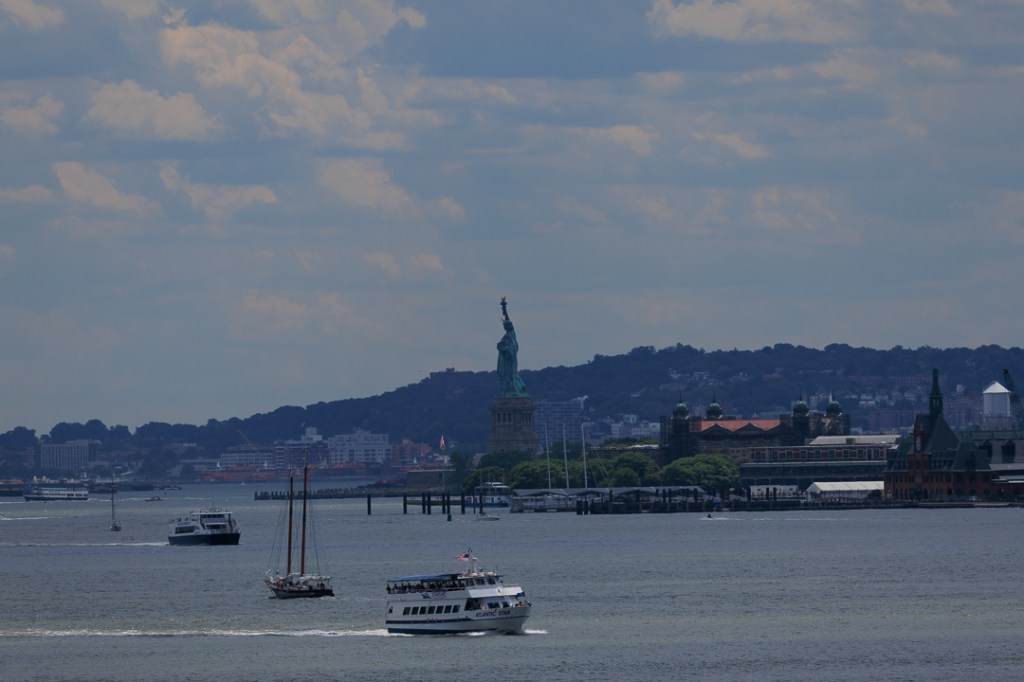
The downside of shooting in RAW is that the images often come out looking flat and uninteresting (like the image above). The upside is that the data that produced the image has not been tinkered with to the extent that it is burned into an image format that is being used to display it. Because the image is being interpreted by the RAW processor, each kind of sensor information is available to be interpreted by the photographer (or more properly, the person doing the post-processing — in my case, it is always me).
The other upside is that I can still look carefully at the image in its present form and determine whether it is worth keeping and post processing or not. For example, I could see that the image was reasonably balanced, although to my eye, with a bit too much sky. It was well focused throughout, the tour boat in the center foreground was sharp enough for me to read the name of the craft “Atlantic Star” when looking at it at 100% and see individual passengers. I could also count the number of white stripes and red stripes on its American flag. The edges of the statue were crisp and the foliage on the ridge was also sharp enough.
I could also see that the image seemed to be a bit underexposed (too dark) and the statue, particularly, was too shadowed. The overall image does not seem to be exactly straight (level). The colors seem to be a bit muddy. Because of a telephoto lens characteristic, some of the buildings in front of the statue were made to look closer to each other than they are (a common effect of any telephoto lens is to seem to compress space (in the front-to-back dimension) between things that are, in fact, more distant from each other). Except for the compression effect, most of the technical photographic issues should be easily remedied through post processing (i.e., increase exposure, particularly in the highlights, work on cleaning up the colors, etc.).
Here’s the same image, after some fairly simple adjustments, including a very minor straightening which produced a slight crop around the edges (note how that water tank on the right is now slightly closer to the photo’s edge — that happened all around the image).
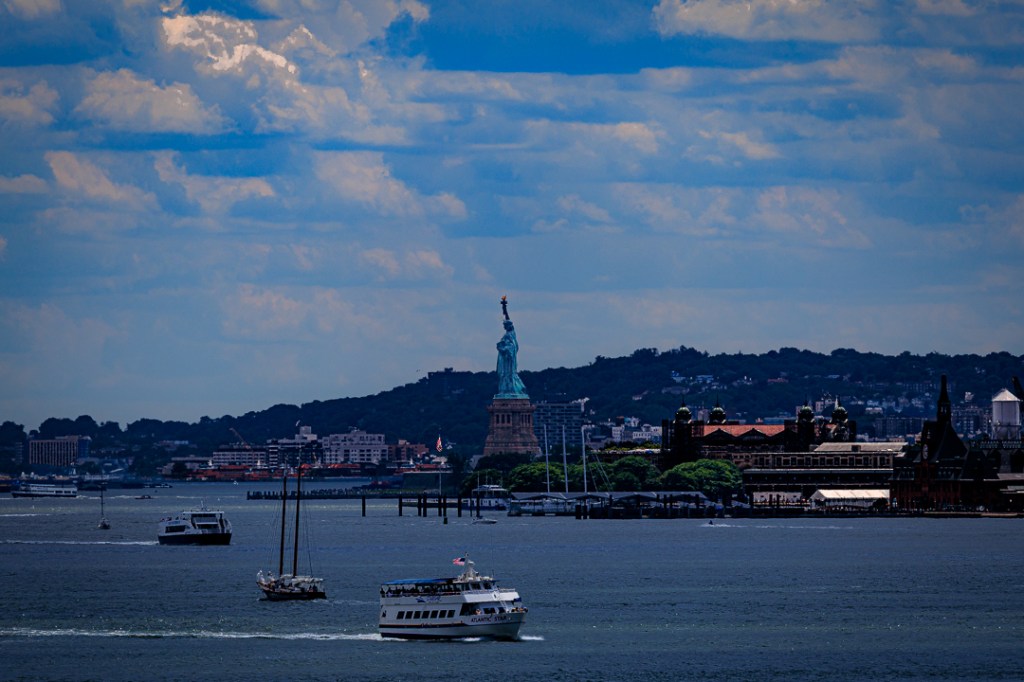
Ok, so now I’m looking at it from a compositional perspective. What story was I trying to tell? What’s the subject? What’s the ‘WHY’ of the photo? Did it succeed?
I’d have to say, “No! It did not succeed.” To me, the object that stands out is the tour boat. It certainly grabs my eye first. And it doesn’t lead me anywhere. So, my eye wanders around the image and I note there are other boats and I do see that it is taking place in front of, and apparently near, the Statue of Liberty. But it’s just a tour boat so it’s not taking people to Ellis Island to be processed into the country which would be an interesting story (and besides, it looks like it might have already passed the entrance to Ellis Island. So, it’s just a nice picture of the Hudson River down by Liberty Island and Ellis Island.
To me, the “WHY?” was the Statue of Liberty (and the fact that it was taken at a long distance). Everything else, is just distraction (or confusion). To make this work, I’ve got to simplify it — a lot (or go back and try again). I tried several approaches (short of a return flight) like cropping out some of the sky. But I finally decided that it required a more aggressive cropping surgery, leading to the image below.
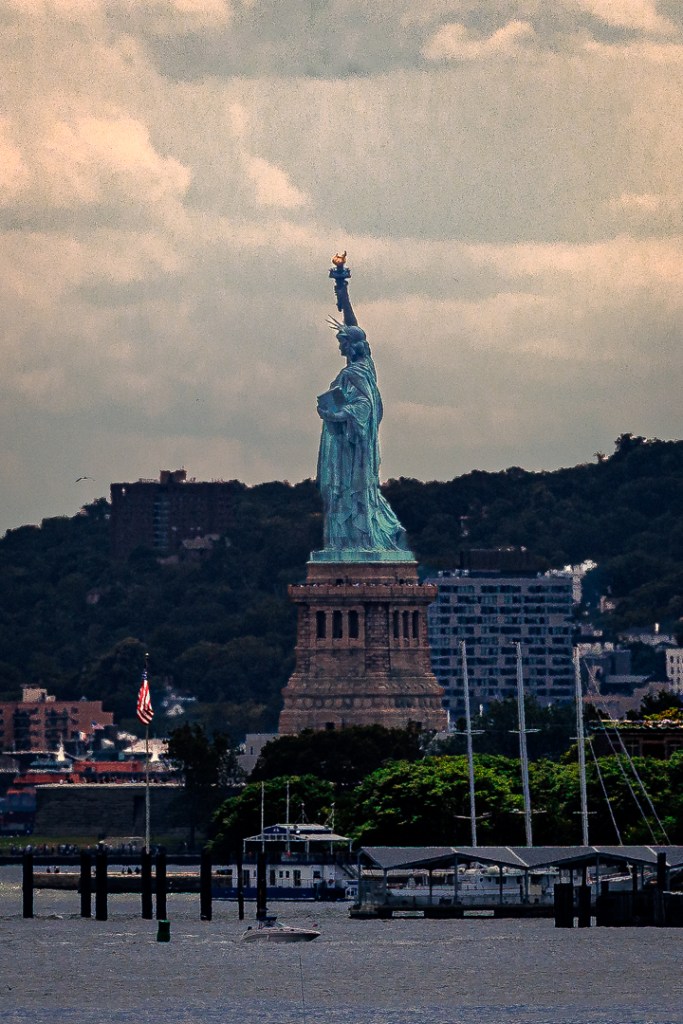
Now, the “WHY?” is clear and the caption helps by providing the one fact about distance that I couldn’t make the image itself answer. I hope this post-processing discussion was useful to those of you who read through it.
End of post-processing ideas
As a reminder, this visit was brought about because of a high school graduation. And, in many families, that meant planning for and hosting a graduation party (and here I mean, the party hosted by the parents). Leo’s parents certainly planned such an event which, invariably, would conflict with other parents’ parties for their graduates. Unfortunately, Leo’s party ended up in direct conflict with the party of close personal and family friend’s party for their graduate, so the two families decided to also have a one-on-one family picnic get together on a non-conflict day in Central Park.
For me, that turned out to be an opportunity to try to find and take photos of birds. I did find a few, and here they are:
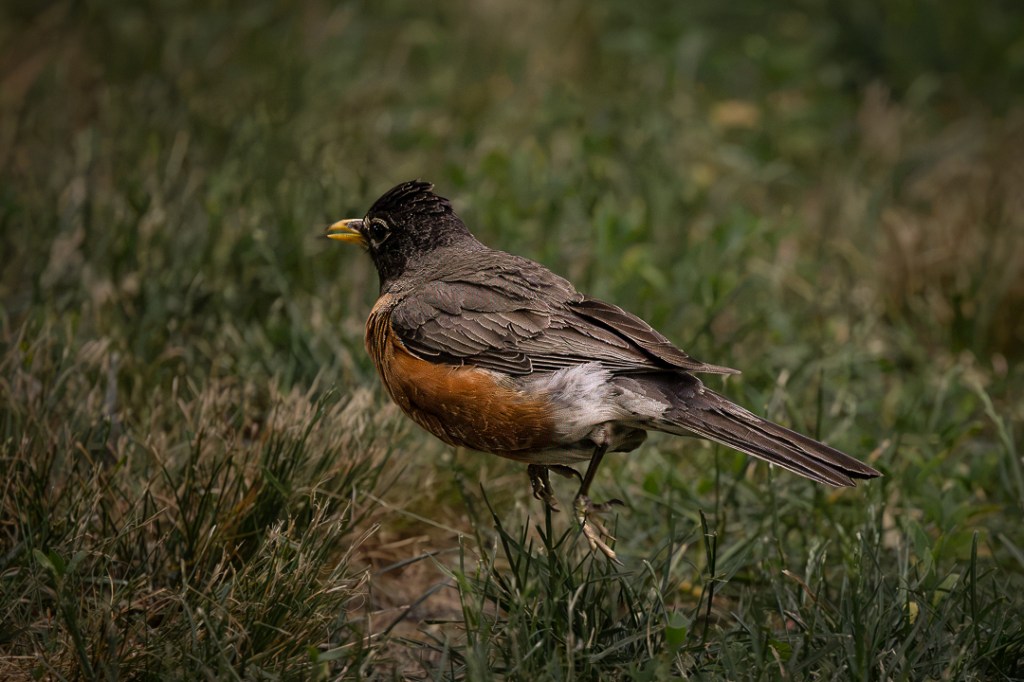
American Robin (red-breasted) jumping, Central Park, NYC (500mm, 1/2500 sec, f/7.1, ISO 12800) 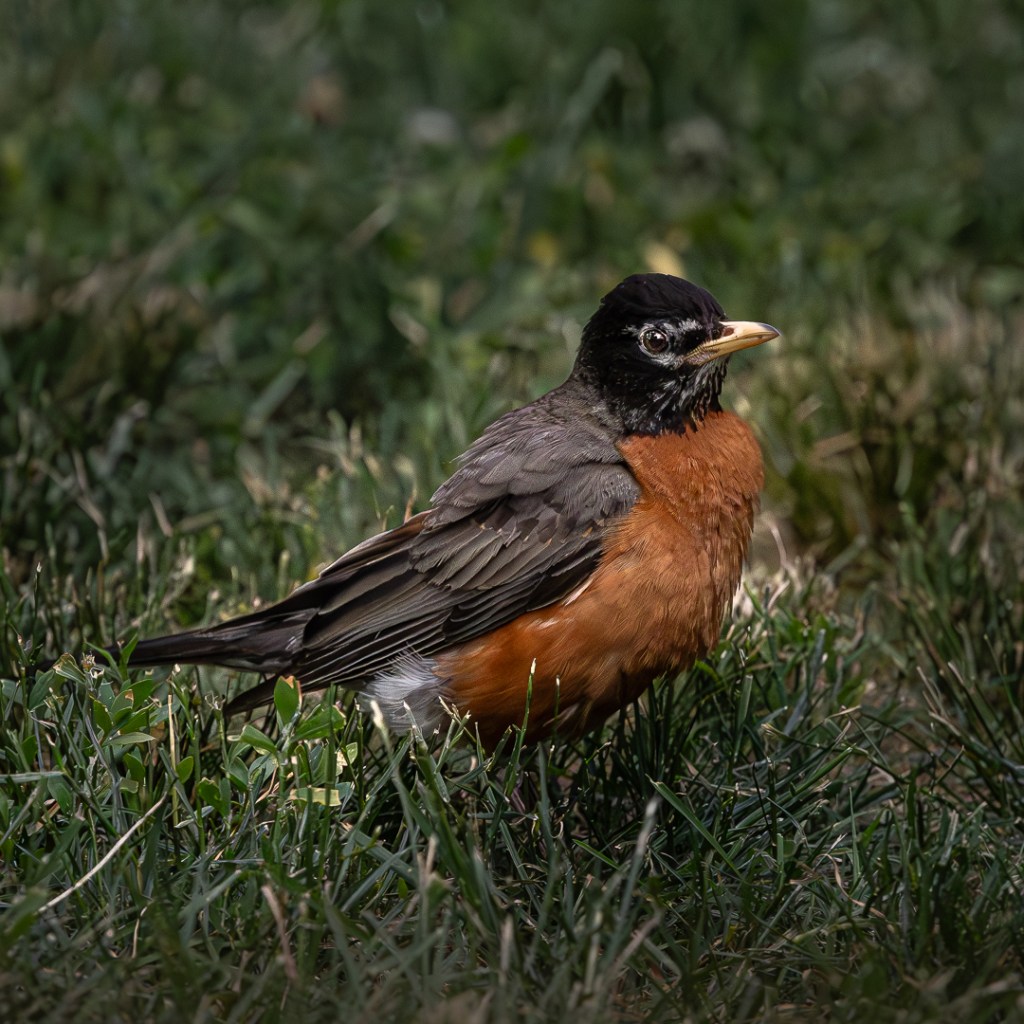
American Robin (red-breasted) standing, Central Park, NYC (500mm, 1/2500 sec, f/7.1, ISO 12800) 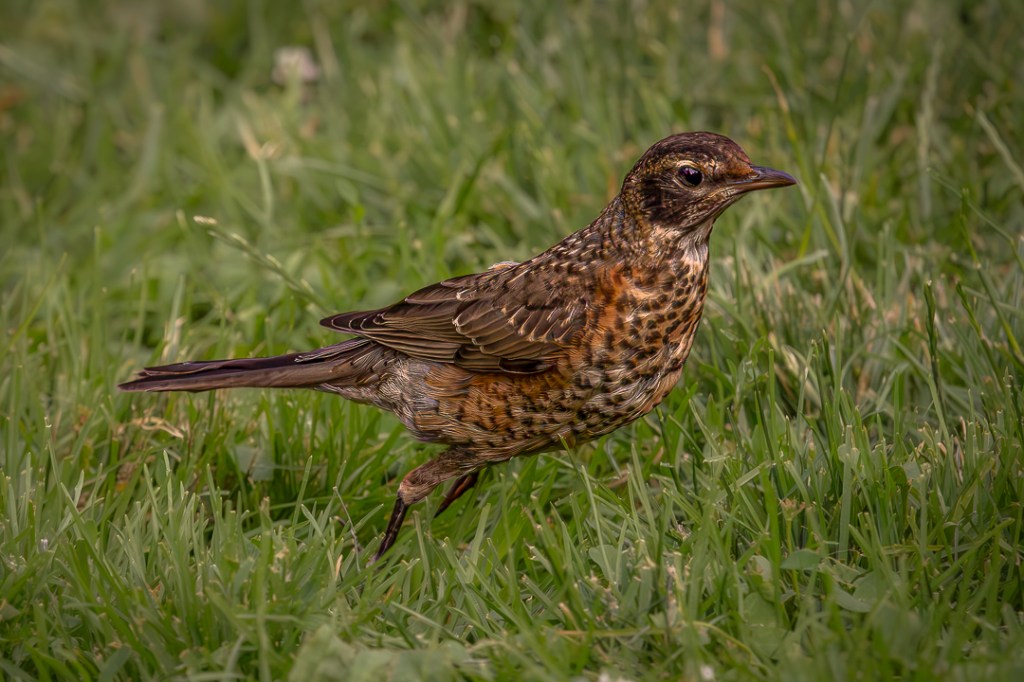
American Robin (speckled-breasted) jumping, Central Park, NYC (500mm, 1/2500 sec, f/7.1, ISO 8000) 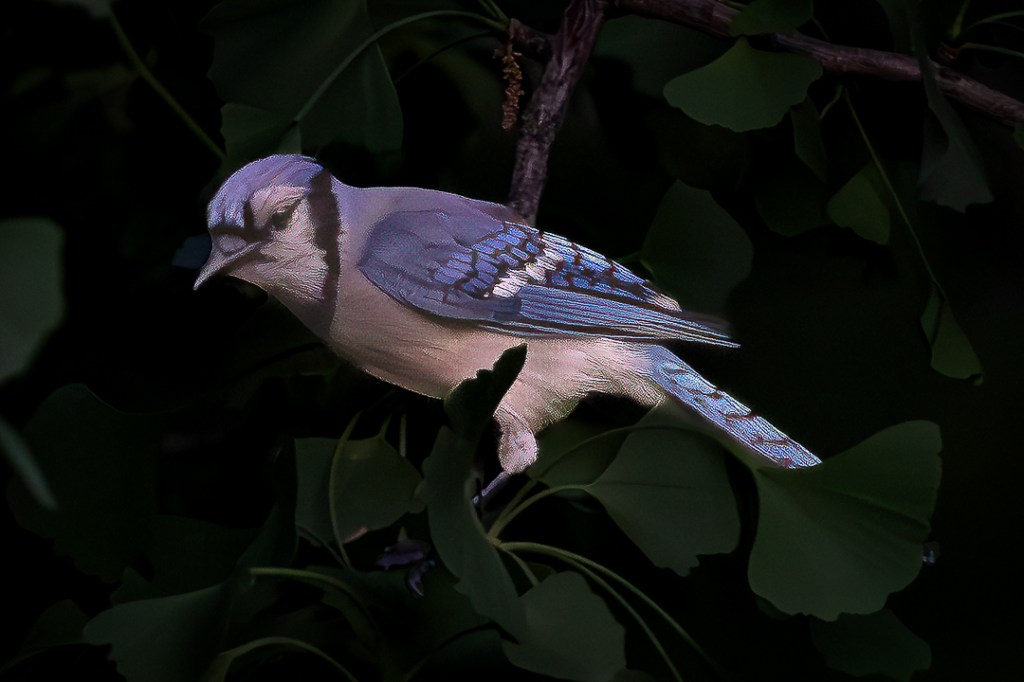
Blue Jay in tree, Central Park, NYC (500mm, 1/2500 sec, f/7.1, ISO 12800)
As I mentioned at the top of this post, the specific reason I had traveled to NYC was to attend Leo’s high school graduation ceremony. The frosting on that cake was the opportunity to also visit with him, his parents, and his sister (about a year away from her college graduation).
Below are a couple of photos of Leo. I had already been taking photos of birds spotted in the area of the park we were using and did not change the camera’s setting from that, catching Leo at some distance away as he was arriving. Obviously, he saw what I was doing and (I think) signaled his okay.
At his graduation ceremony, we were sitting in the nose-bleed section so using my telephoto lens was very helpful. In that situation, I took a few test images of previous graduates walking across the stage, and then, using the camera also set to burst mode, I held the shutter release down and panned him as he crossed the stage, later selecting what seemed to me to be the best of the 25 or so shots I captured.
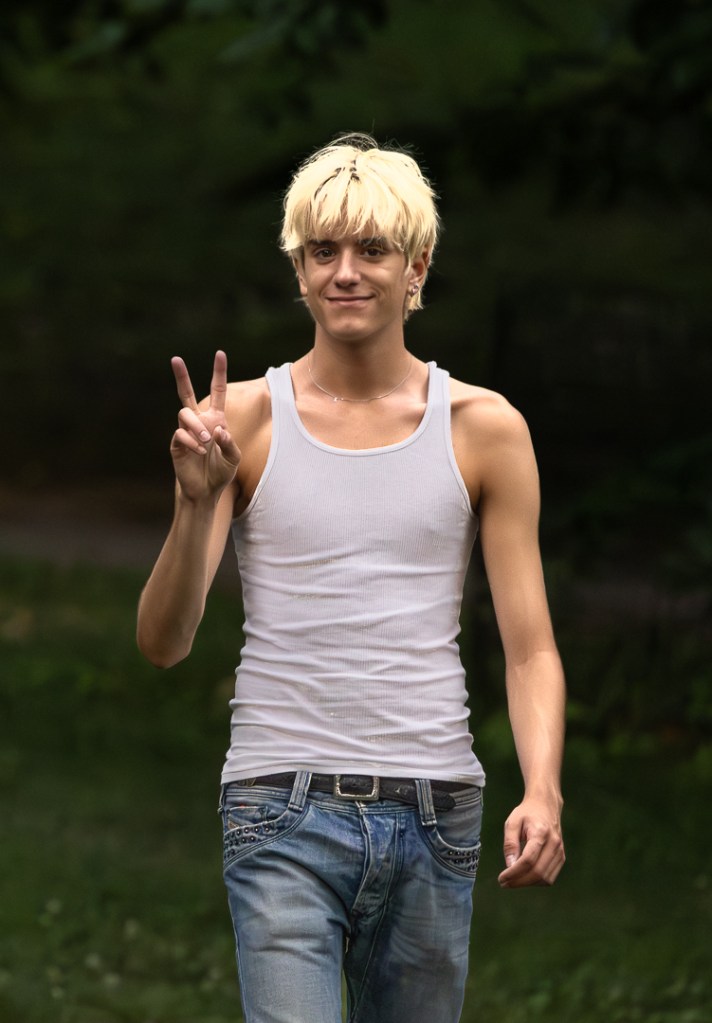
Leo at the family’s 1-on1 picnic in Central Park (500 mm, 1/2500 sec, f/7.1, ISO 12800) 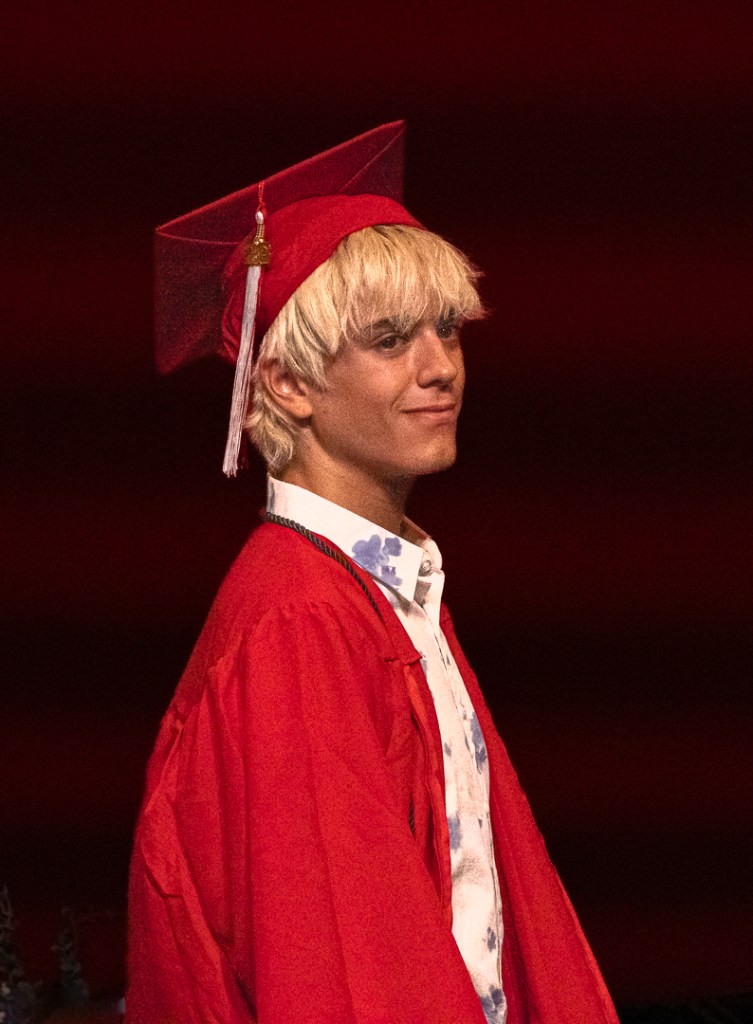
Leo at his graduation ceremony (500 mm, 1/2500 sec, f/7.1, ISO 12800)
Thank you for taking a look at this post. I hope you enjoyed it, the images, and my occasional attempts at humor. Once again, my apologies for being so late in getting it done (and at least one more, just starting). If you would like to see these images somewhat larger and with greater photographic detail and color fidelity, just click on this link to my photo website and the What’s New section to see a selected subset of these images or use this Flickr link to my 2026 Album. There you will find all of the above images. At either site you can just click on any image to see it larger.
If you feel so inclined, you can comment to me in the Reply section below or leave a comment on any photo while viewing them in my photo website or Flickr site.
Footnotes
1RAW files always require a program that will interpret the sensor data and produce an image in some other recognized image format. The program I use is called Adobe Camera Raw (ACR) which is found in Photoshop (Ps), Lightroom (Lr), Lightroom Classic (LrC) and many other Adobe programs. You rarely know you are using ACR since any of those host programs will immediately recognize most RAW formats or DNG (which is a public Adobe RAW format that is not specific to any particular camera) and present the image along with identical post-processing capabilities (sometimes with slightly differing user interfaces).
2There is a big difference in what’s happening to the resulting image between post-processing an actual image (a file that actually contains a processed image) and a RAW file. Even when the controls one uses to affect the image look the same as might be used on a RAW file and seem to be affecting the result in the similar way, what’s going on inside the program is quite different. When we make an adjustment directly to an image. for example, increasing the luminance value of a section of a photo and perhaps also making it look a bit ‘warmer’, that is already processed as to its current tonal value and the color of the light means giving the image instructions to kind of override what is already accomplished in the affected pixels may do an effective job but may not be able to exactly make the desired change. With a RAW file, the instructions provided translate to adding instructions that directly make changes to the sensor data, and then the image is recreated from the updated sensor data. Therefore, no changes to pixels in the picture but rather modifying instructions to the originating sensor information.


