I have tried, from time to time, to take night time photos of the moon – this has been generally unsuccessful. I’ve done a little bit of reading about how to accomplish this but still my attempts have been lacking, to say the least.
We took a May vacation trip to Maui, our absolute favorite of all the Hawaiian Islands. As is our habit, we stayed at the northwestern edge of West Maui, at a resort located on Napili Bay. called Napili Kai Beach Resort. Serendipitously, we arrived just a day before a full moon. The moon was set to rise in the evening of the next day and set in the early morning of the following day. Realizing this was an excellent opportunity to try shooting the moon once again, I got out of bed in the very dark and early morning, grabbed my tripod and camera bag, and headed out to the beach.
Fair warning: For my friends and readers who are also interested in creating photographic images, the remainder of this blog post will be somewhat tutorial in nature in that I’ll provide some tips on how I accomplished these shots. For those whose interests lie elsewhere, you may want to quickly skim, or even skip, most of the following text and maybe just review the photos (or wait until I post some of them to my CedBennett.Photography website next month).
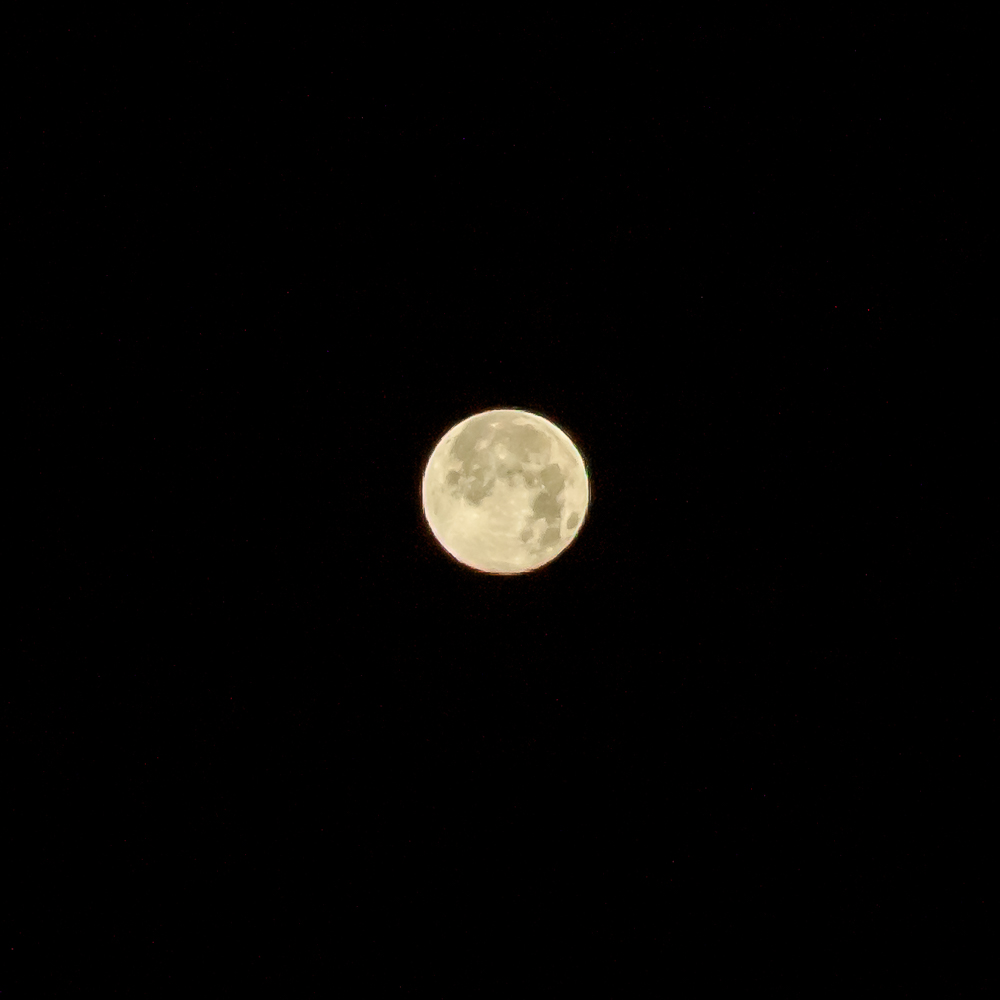
Even though the light of the moon is a pale reflection of the sun (literally) it is still a very bright object compared to other objects in the night sky. That means that to get a fairly clear and detailed image of the moon at night, you must expose for the bright object that it is, ignoring everything else. The image at the top of this post was taken with a relatively fast shutter speed and a small aperture and although my camera was mounted on a tripod, it could have been hand-held.

To show it as large as I have, after all other post processing, I cropped the image severely (too much, really – the edges of the moon are not crisp and clean). Uncropped (except to place it in the same square format to make the two photos equivalent), it would have looked like the image on the right. How large the moon looks in the image one takes is dependent upon the lens used. This image was captured with a 24-105mm zoom at 105mm). My dSLR [digital Single Lens Reflex] camera has a crop sensor so the apparent focal length is actually closer to 168mm with that lens. How much you can safely crop an image depends more upon the actual size of the original image (generally, the more megabytes the better for that purpose).
Here is the first image of the night that I particularly liked. In this capture, I was more interested in showing the relationship of the moon to other elements in the scene like the reflections on the ocean and clouds. I knew it would require a long exposure. The long exposure would
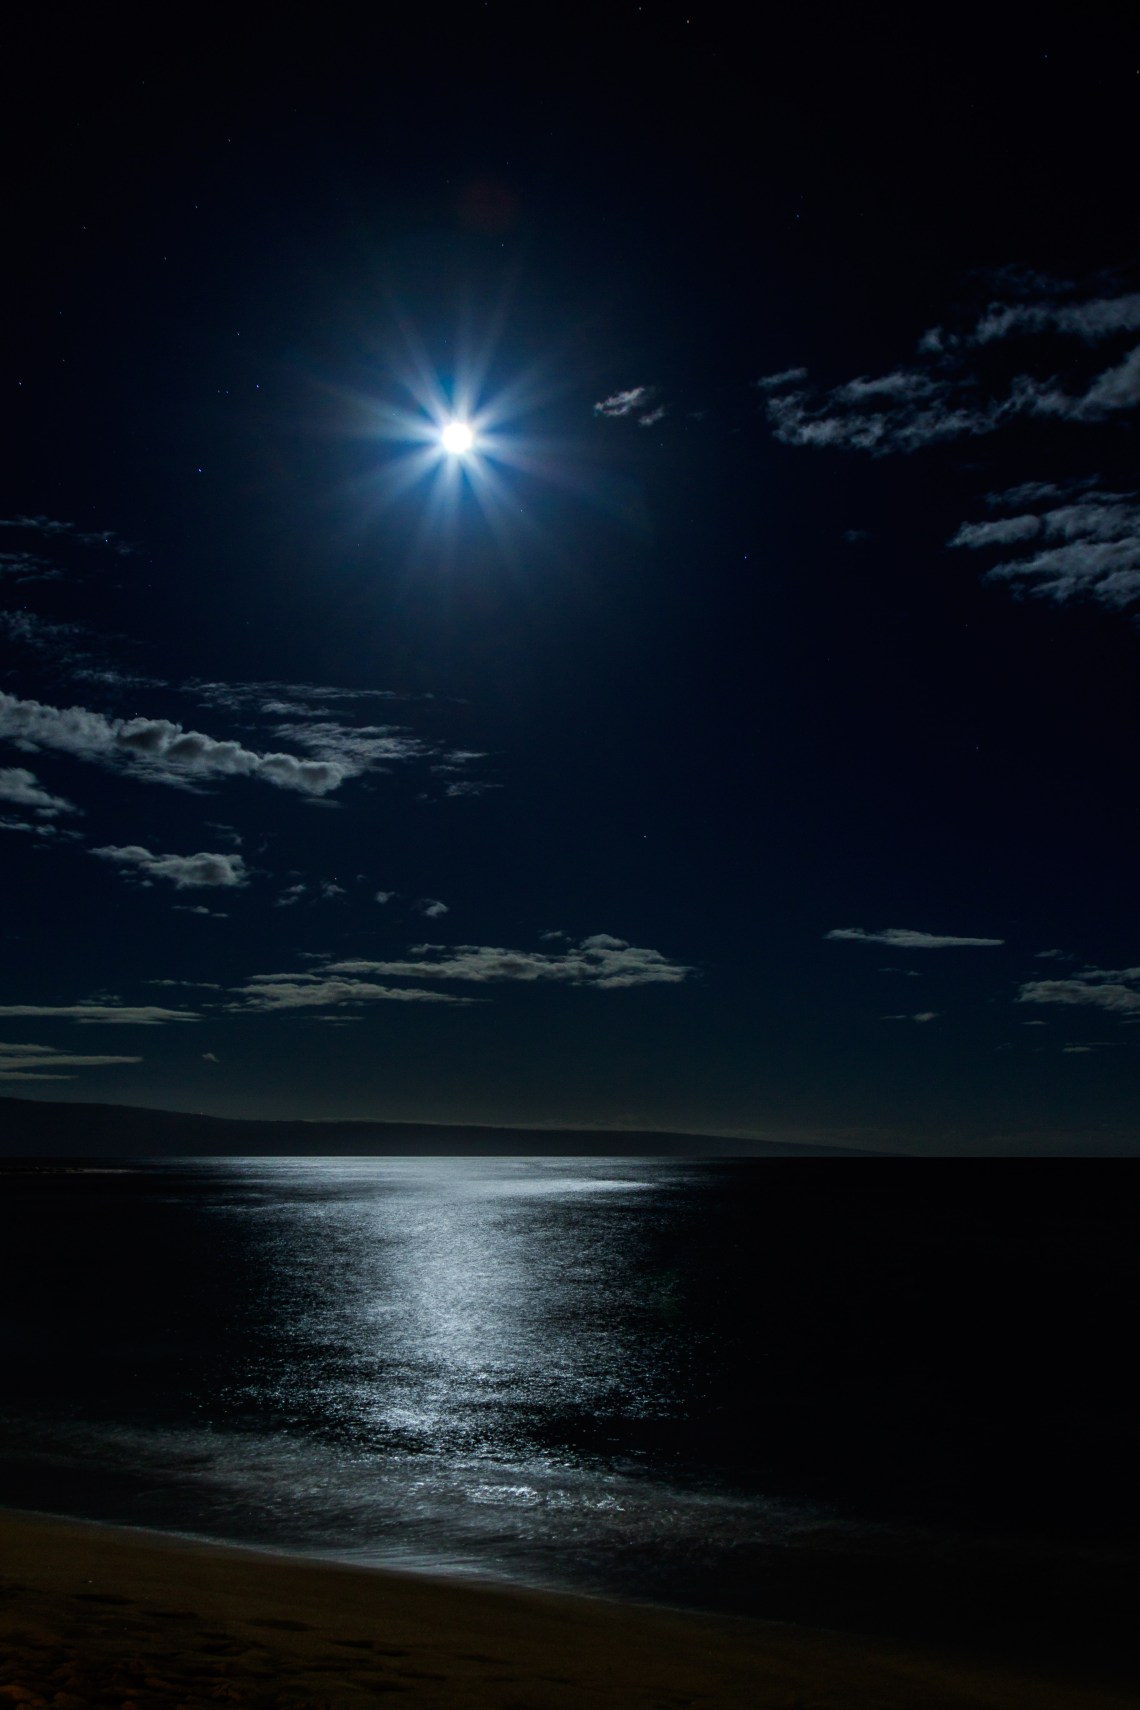
For one, the moon would end up being very over-exposed, not only losing all surface detail but would “bloom” (tend to glow beyond itself) and light up the immediate surrounding area of the sky. I decided that rather than trying to avoid that using some complex pre- and post-processing techniques, I would feature it by forcing the moon’s image to throw off some rays.
Getting any point light source to show rays is accomplished by stopping down the aperture and shooting directly into the light source*. Getting the image I wanted was accomplished by shooting multiple times varying the shutter speed and aperture and then choosing the one I liked best. I selected this photo because I thought the rays looked most interesting and the (few) star (trails) were short enough to look like points of light (rather than the short lines created because the Earth keeps turning during the exposure).
Once I had the shot I wanted in the camera, I hung around the beach and kept shooting (not always at the sky) until things began to lighten up with the dawn. Then I turned my camera once again toward the moon. These last two images were shot using a longer zoom lens (70-200mm) at 200mm (again because of the crop sensor in the camera, the apparent focal length acts more like 320mm, providing very effective magnification).
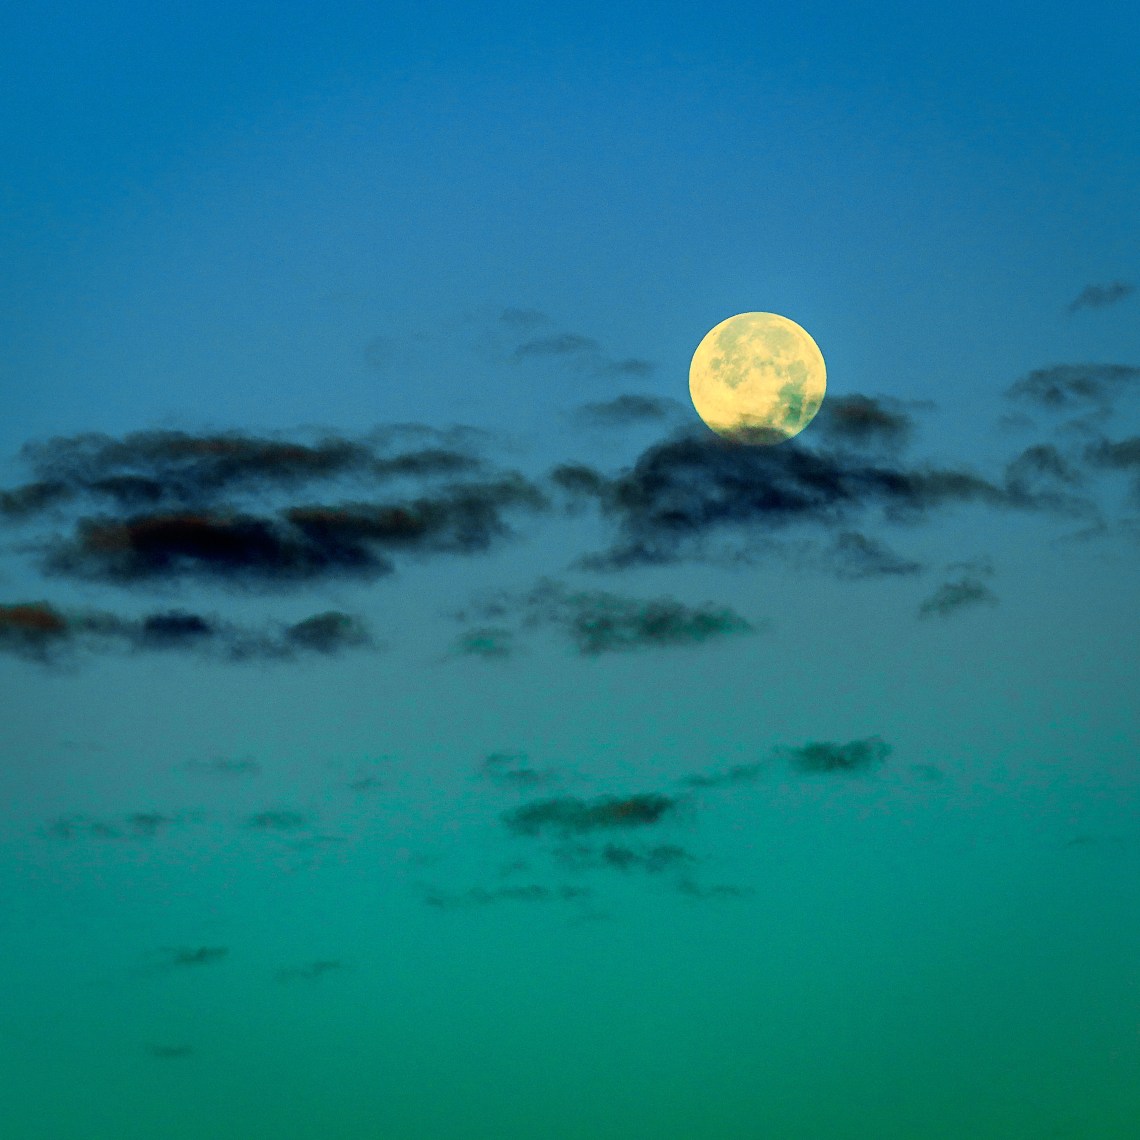
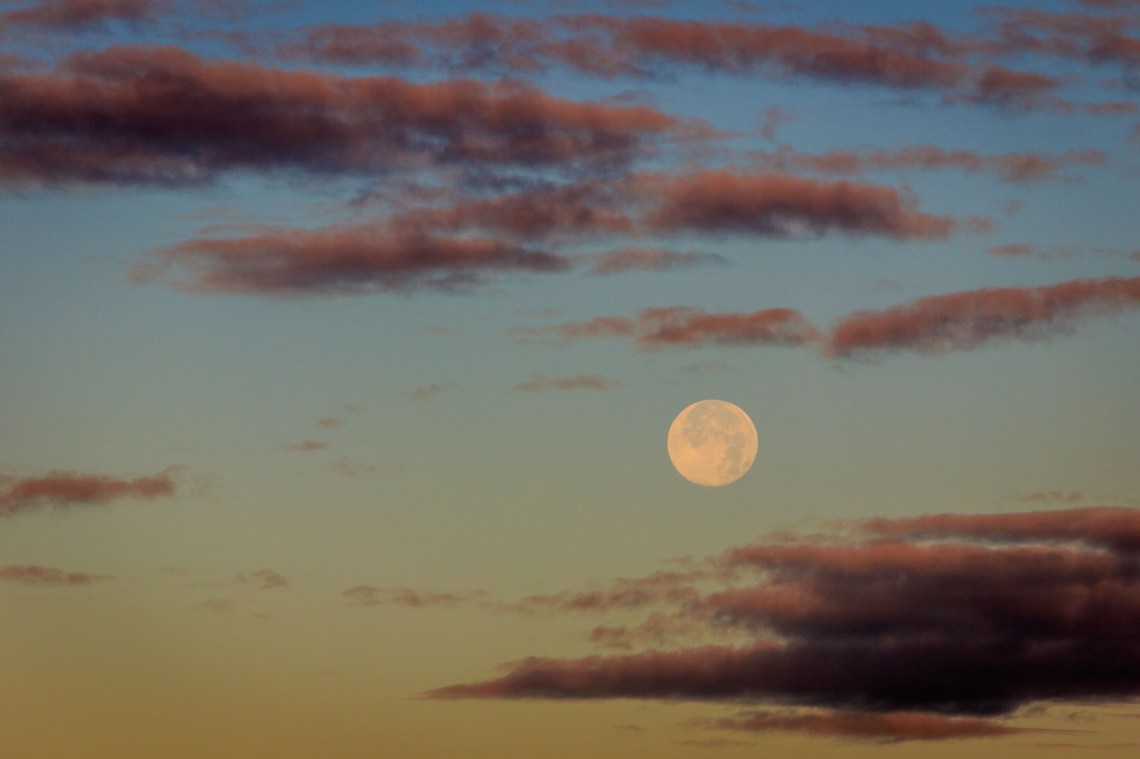
In the first of these images, the moon looks larger than the second because I cropped that photo to a square format. These images were shot only 13 minutes apart. During that time the sky continued to get lighter which you can see in the color changes (both images were captured before the sun actually appeared in the sky behind me).
*Note: Getting “rays” from point light sources also requires that the contrast between the light source and its surroundings are fairly extreme (e.g., the background behind the light source should be fairly dark). That’s why those last two shots above which are aimed directly at the moon (and the aperture is certainly small enough to throw off some rays) doesn’t do it. The reason is that tonal value of the moon in those images are quite similar to their surroundings.
The rays are created because the light from the source reflects off the edges of the leaves within the lens which make up the aperture adjustment mechanism and that readily shows up against the darker background. When the light values of the surroundings and the light source are similar, no reflection can be seen. It follows, BTW, that there are always the same number of rays as there are leaves in the lens (in this lens, there are eight).

1 Comment