In the previous photography tutorial post about Exposure, one of the subtopics discussed was Depth-of-Field (DOF) because aperture, one of the components of exposure, can have a pronounced affect upon it. Unfortunately, that may have left the impression that DOF is only affected by aperture. I thought it important to correct that impression soon (which I also hinted at in the ending of my most recent post about my photography on our Maui vacation).
To put it very succinctly, DOF is also affected by (a) distance between the camera and the photographic subject and (b) the focal length of the lens being used. As a reminder, DOF refers to what is acceptably in focus (i.e., not obviously blurry; sometimes also referred to as “soft”) both in front of, and beyond, the photographic subject.
This is probably a good place to note that the desired DOF can vary depending upon the creative objective of the photographer. For instance, a landscape photographer might be very interested in having everything in the frame of an image, from the closest object to the furthest, be in focus. But a wedding photographer might want to insure that, in an outdoor portrait of a wedding couple, that only the couple is in complete focus while the background is allowed to go soft.
Lenses
Broadly speaking, there are three general types of lenses, predominately identified by their focal lengths: standard, wide, and telephoto. Beyond that are lenses which have more specialized uses, such as fisheye, shift/tilt, macro, and others. Another of those technical definitions (that you really don’t have to remember) is that the focal length of a lens is the distance between the lens and the image sensor when the subject is in focus; it is usually stated in millimeters (e.g., 28 mm, 50 mm, 100 mm).
Lenses also come in two forms; prime lenses and zoom lenses. A prime lens has a single focal length (e.g., 24 mm) while a zoom lens can change focal lengths through a specific range (e.g. 24 mm / 105 mm).
Standard Lenses
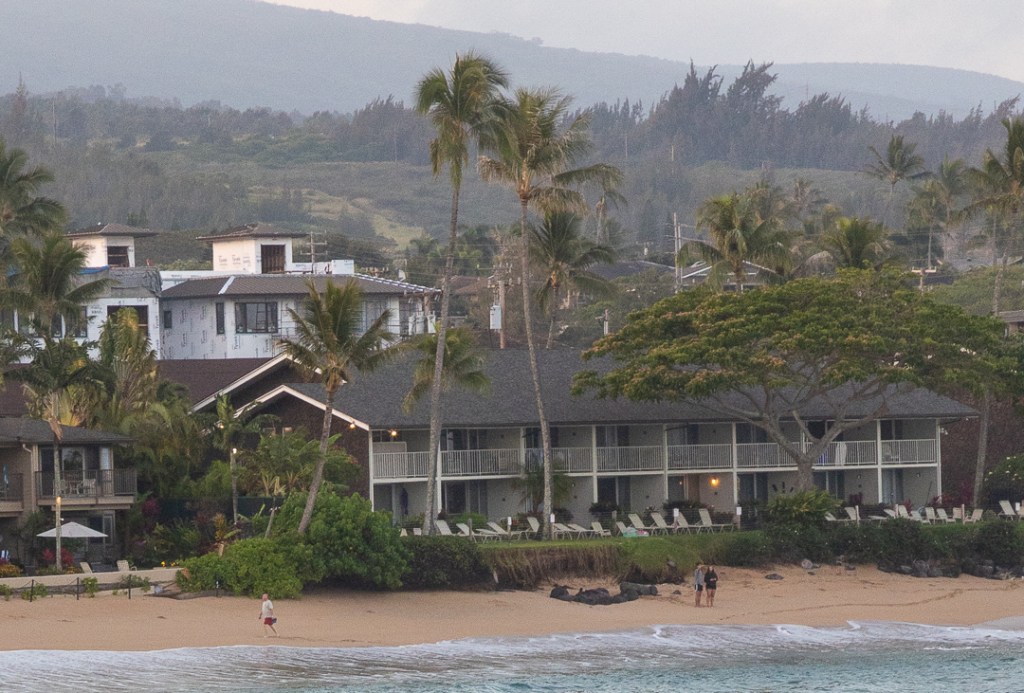
A camera salesperson may tell you that a 50 mm lens is similar to the human eye. And, it is kind of true, in that the field-of-view (FOV — sometimes called the angle-of-view) of our eye is about 55 degrees which is similar to the FOV of a 50 mm lens (except, of course, the image gathered by each of our eyes is projected on a curved surface, while a camera lens projects an image on a flat surface, and then our brain automatically combines the slightly different images coming from each eye into the single image we “see.”) Aside from those caveats, we can think of the 50 mm lens as producing an image most similar to what our eyes see. Those lenses that cluster around 50 mm (from about 36 mm to about 84 mm) are what falls into the category of “standard” lenses. As the focal length numbers get smaller, the lenses become more wide angle; as they get larger, the lenses become more telephoto. The photo at the top of this post was captured at 58 mm.
Wide Angle Lenses
Lenses with a focal length of 35 mm or shorter are called wide angle (unless they are really short (e.g. 10 mm or less, in which case they tend to fall in the fisheye category). Wide angle lenses, as their name suggests, provide images that are wider than normal. Please note that although the term “wide” might imply a horizontal wideness, they are also somewhat “wider” in the vertical dimension as well. Also, wide angle images may be captured using the camera oriented vertically — for example, the image below (taken from almost the exact same place as the one at the top of this post but re-composed for 24 mm). As a general rule, and all other things being equal, wide angle lenses tend to have a much deeper DOF than standard lenses.
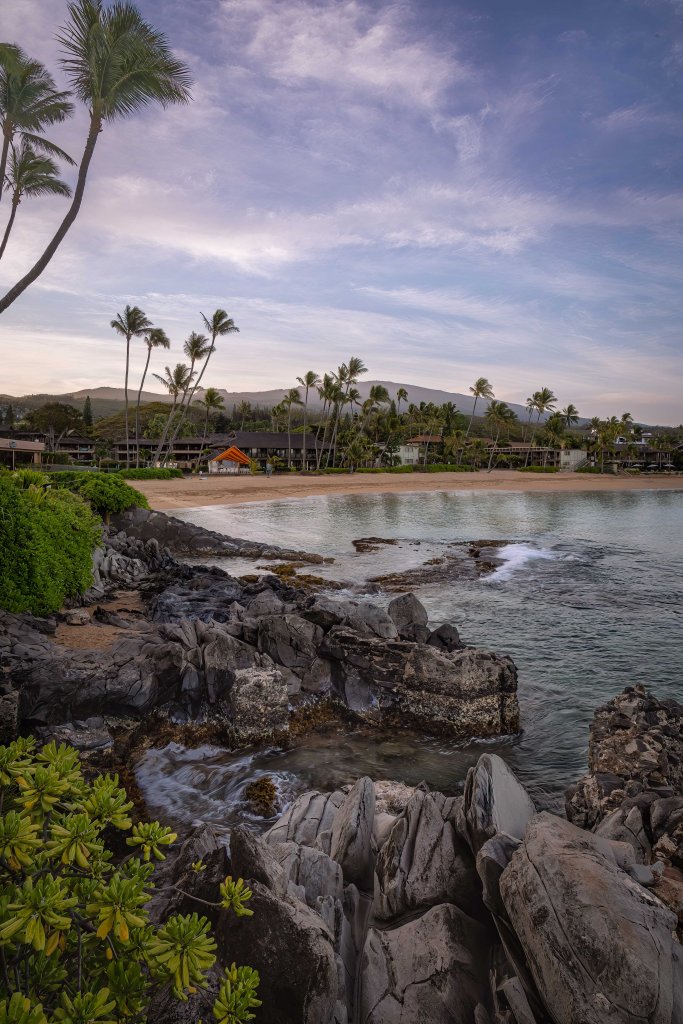
Before we go on to talk about telephoto lenses, there are some important differences to notice between these two images. Of course, the wide angle image is considerably wider (i.e., its FOV is very wide). The two images are aligned nearly identically on the left edge but the wide angle image shows much more (left to right) even as a vertical shot than the “standard” lens shows (left to right) as a horizontal shot. And it shows a much taller image, even exposing palm trees that don’t show at all in the standard lens image.
But, hey, since it is a wide angle image, none of that should be terribly surprising. If we take a look at the contents of the images more closely, though, we can start to see other, less intuitive differences. Take a look at the spear of stones in the image at the top of the post and compare that with the same landscape feature on the wide angle image. Subjectively, on the wide angle image it looks much further away. If we didn’t have both images to compare, I believe we’d think that spear of rocks is much further away than it actually is — and that we are a great distance from the beach and that tent. The mountains look to be many, many miles further away. Similarly, although it is not particularly well illustrated by these two images, things that are very close to the camera will tend to look larger than they are.
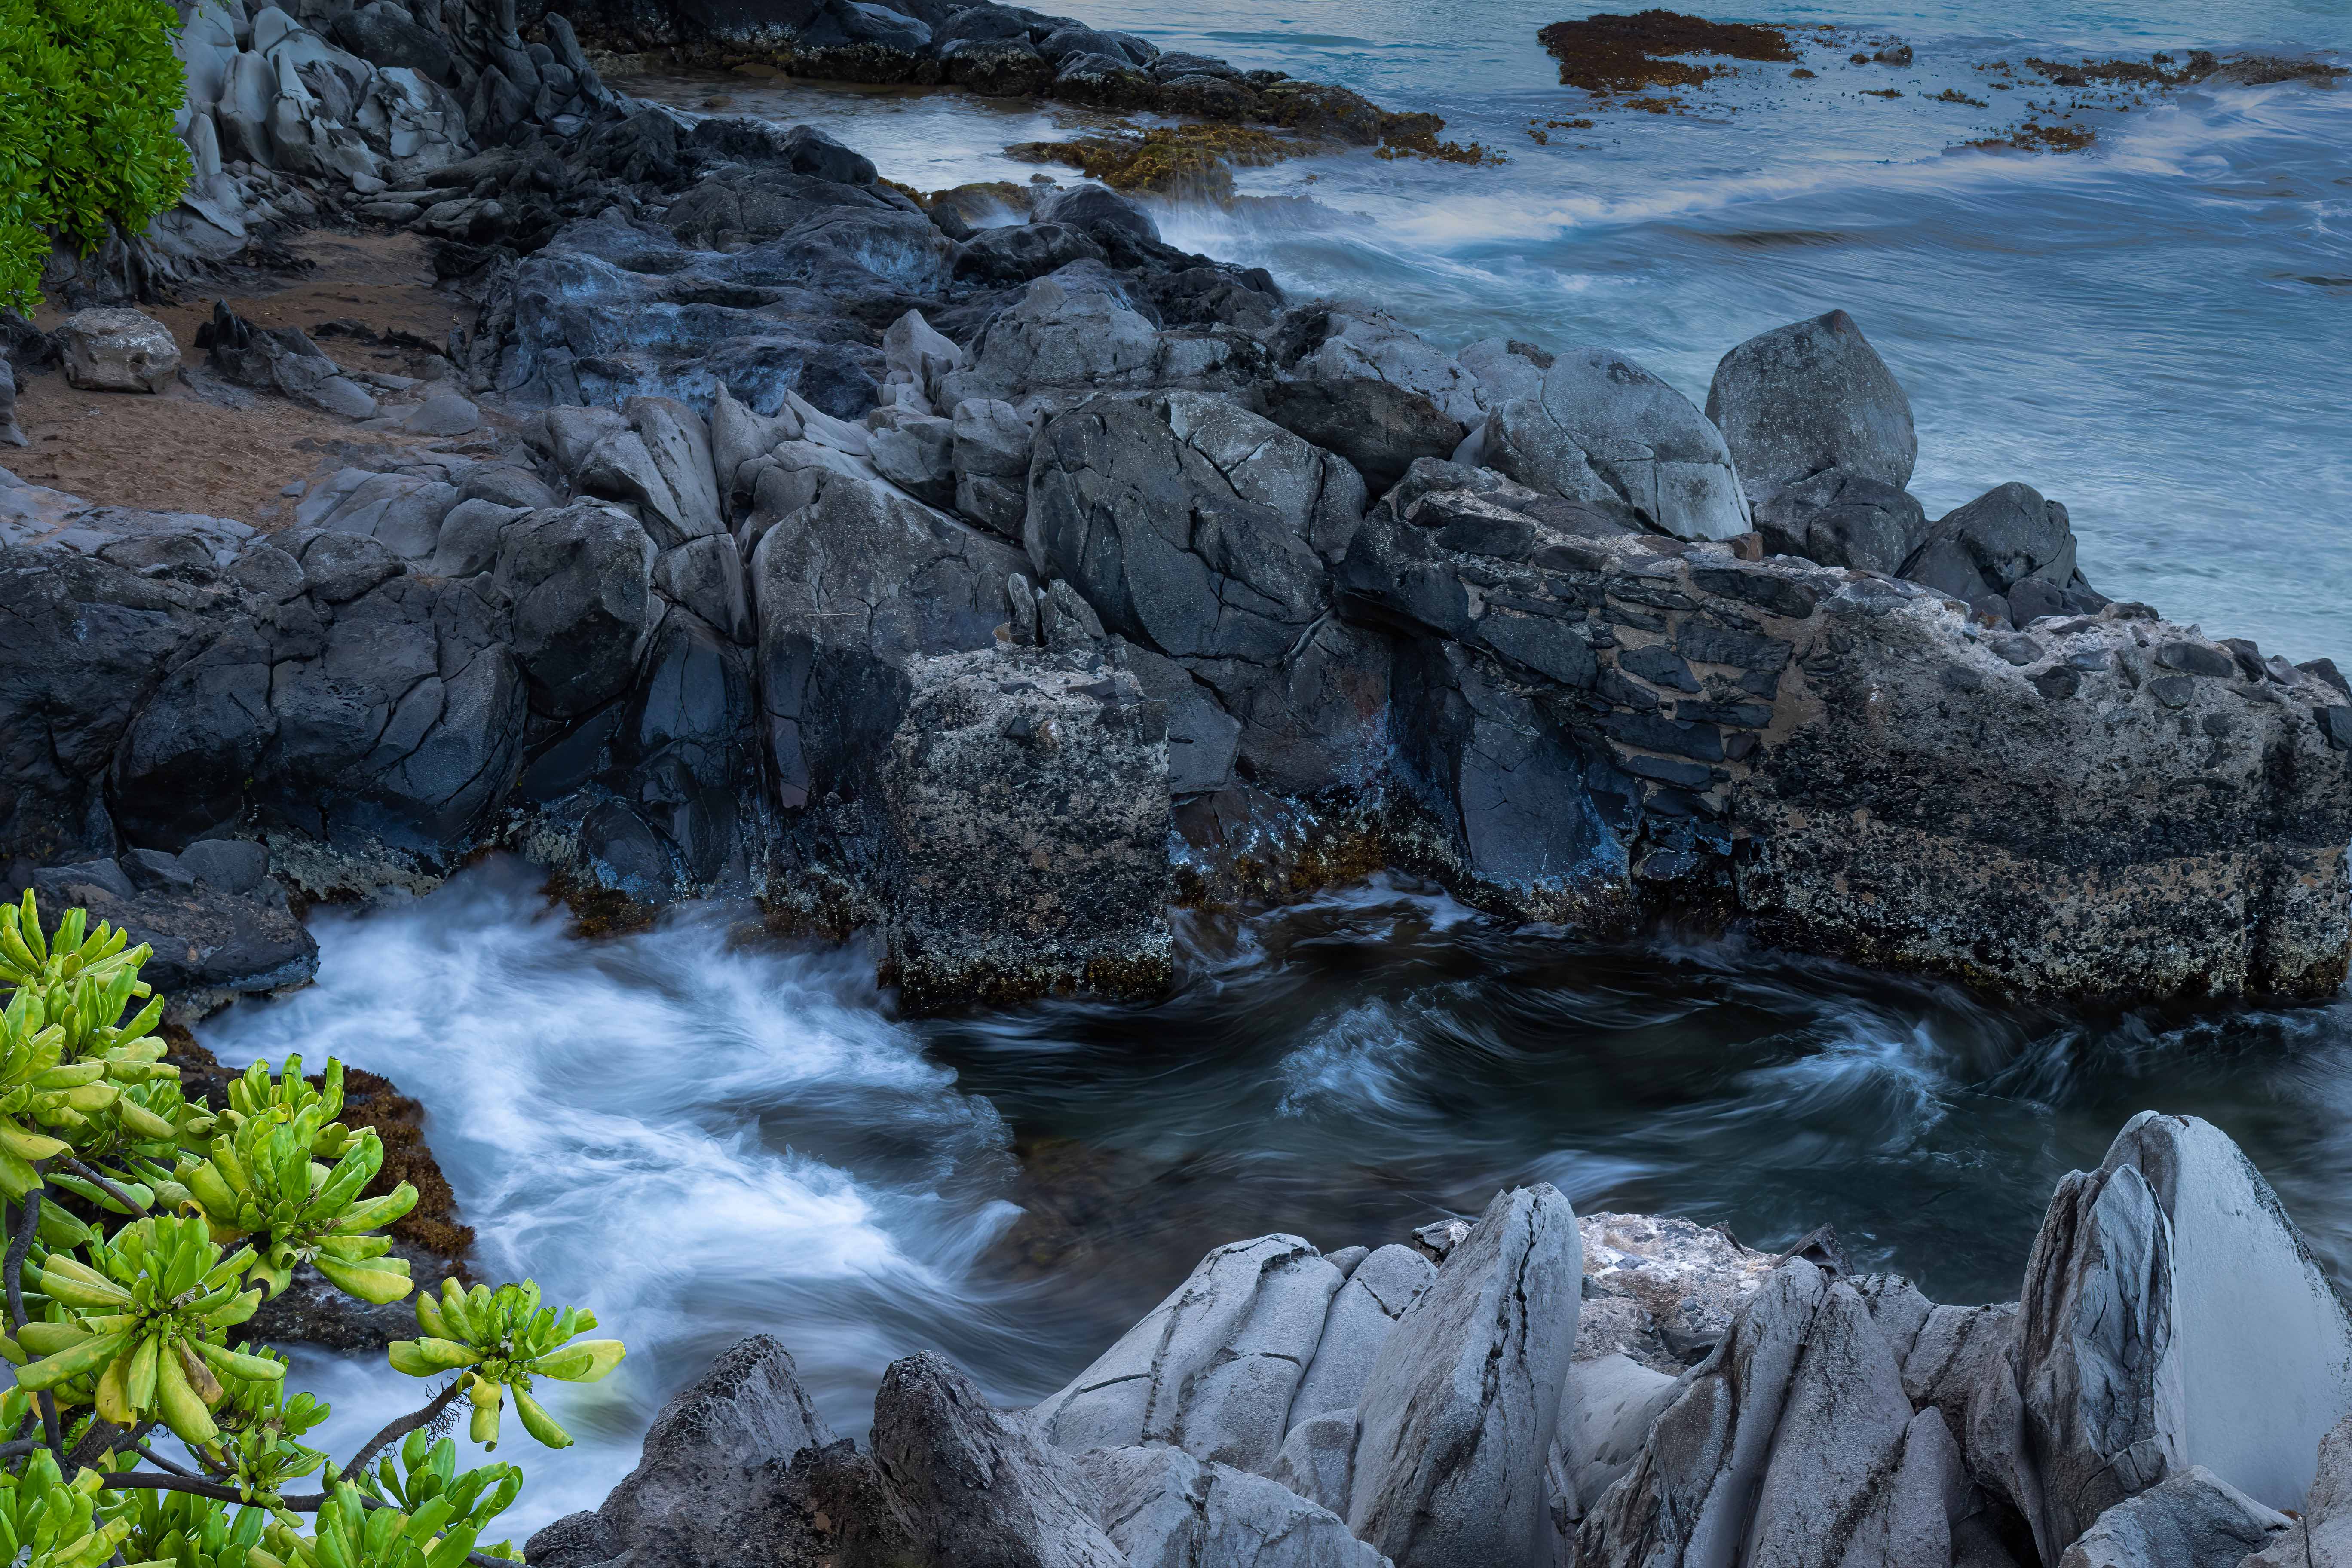
This is a typical characteristic of images captured using wide angle lenses, particularly if it is used to show grand, sweeping views where items of interest are on very different planes (when close, middle, and distant planes are not particularly close together). Images of subjects that are mostly on the same plane, relative to the camera, are generally more true to the subject’s size – like this one of some tidepools.

That characteristic does not make it wrong or bad, it is just that it should be considered from the photographer’s creative point of view. It may sound like heresy but a photograph is not necessarily documentation. If it purports to document, then it should strive for accuracy. If its intention is artistic, then documentation is less an issue. BTW, there are ways to produce wide angle images without the use of a wide angle lens but by “stitching” together several images captured for that purpose. That is definitely a subject for a different tutorial.
Telephoto Lenses
Lenses that are 85 mm and above are called telephoto. Those that start at 85 mm up to 135 mm are generally called short telephoto while those above are called medium telephoto until one reaches 300 mm and more which are usually called super telephoto. As the millimeters increase, not only does the price go up but so does the weight and physical size — but the FOV of the resulting image gets smaller.
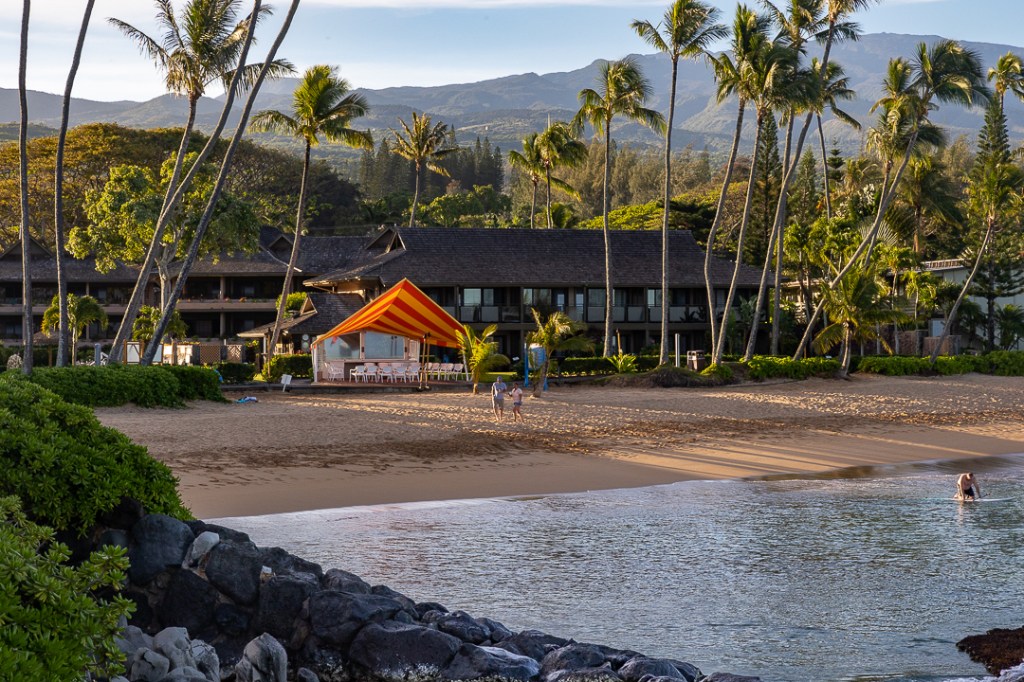
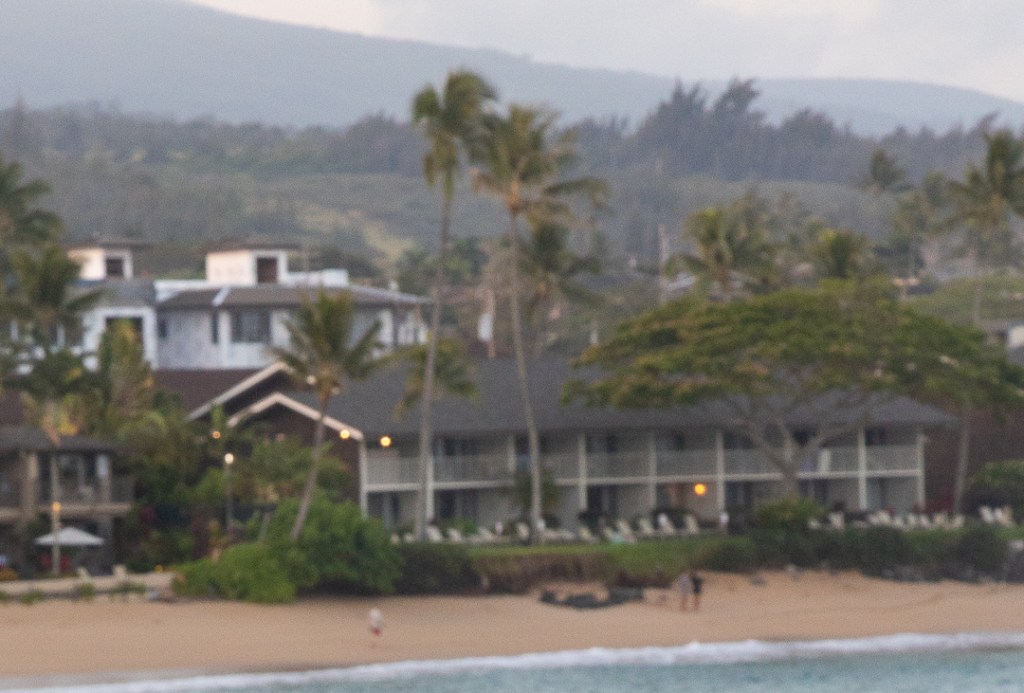
Since a telephoto is designed to magnify whatever it is aimed at, it subjectively causes thing to look compressed in space (that is, things look closer to the observer and they also look closer together than they actually are — as one might expect, this is the opposite characteristic from the wide angle lens). Here’s an image that was shot from nearly the same position as the other two beach photos but using a (very short) 88 mm focal length. Notice how close the shooting position looks to the beach, and how close the mountains appear to the palm trees and buildings, particularly when compared with the wide angle image.
Telephoto lenses are obviously designed to provide visual reach beyond what a standard lens can provide but can also be used creatively to isolate particular details of interest even from subjects which are closer to the camera. It probably comes as no surprise (by now) but all things being equal, telephoto lenses tend to have a narrower DOF than standard lenses.
Distance to Subject
As I’ve already mentioned, in addition to aperture and lens focal length, another factor that affects DOF is the distance from the camera to the subject. Typically, the closer the subject, the narrower the DOF. Of course, all these factors combine in any given circumstance to determine the effective DOF.
If you’ve read my Maui 2022 blog post you have probably recognized that all the image examples in this post came from that post. And, while my photographic intention while on Maui was to create interesting photographs, I was also thinking about writing this post and am pleased that many of those photos were able to do double-duty for me.
Before we left the island to return home, I deliberately thought about how I might illustrate this topic of distance and DOF (knowing none of the photos I had created up to that point would do the job). I decided to just take a few photos of an ordinary scene with that deliberate purpose in mind.
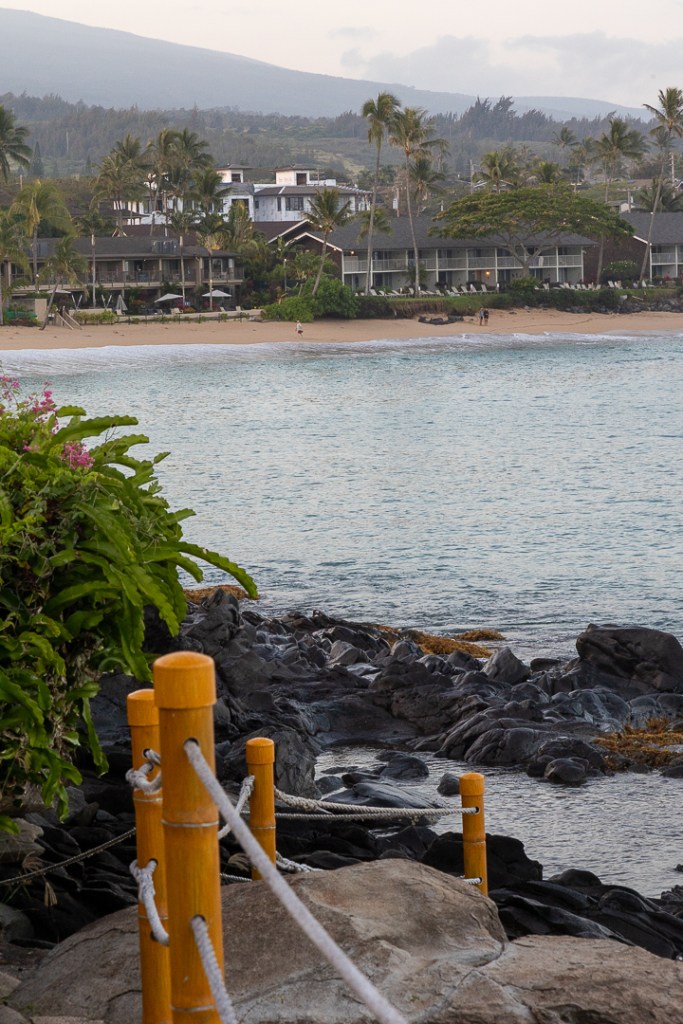
These two photos were taken near the very end of the pathway on the edge of the bay. They were both taken with at an aperture of f/16, using a short telephoto 105 mm lens, and with the camera placed relatively close to the first yellow post. You may be able to pick out some slight differences between them but honestly, at this display size, either of them would be acceptable if shared via social media like Facebook or Instagram. However, if they were printed (or displayed) in a larger size, they would both very obviously begin to show some issues caused by my point-of-focus choices. The photo on the left was focused on the top of the first yellow post. The photo on the right was focused on top edge of the second row of rocks in the water.
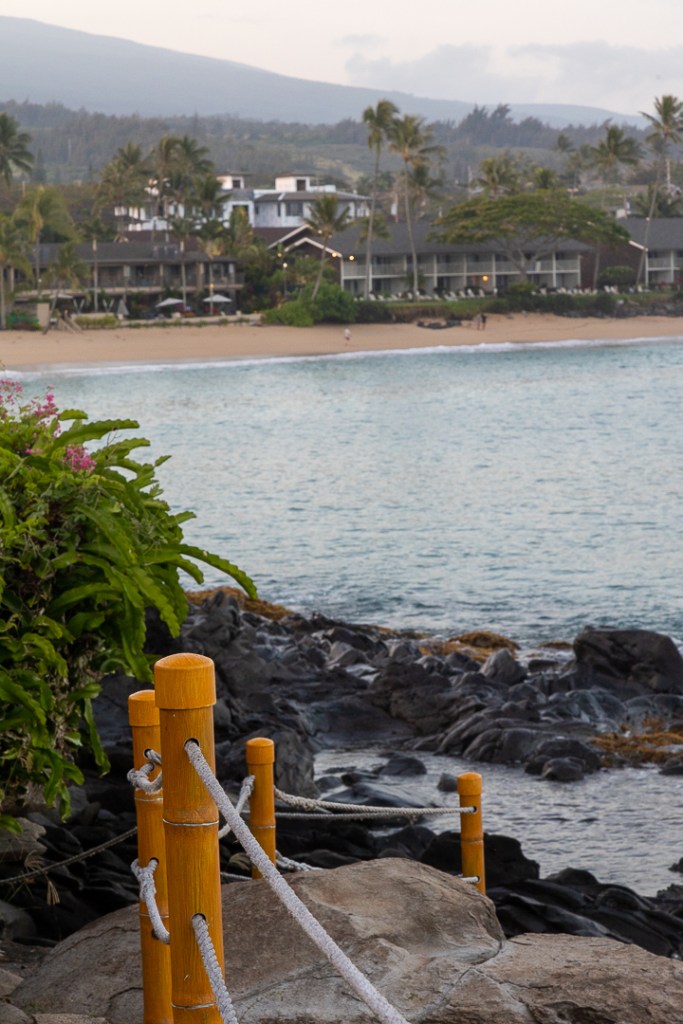
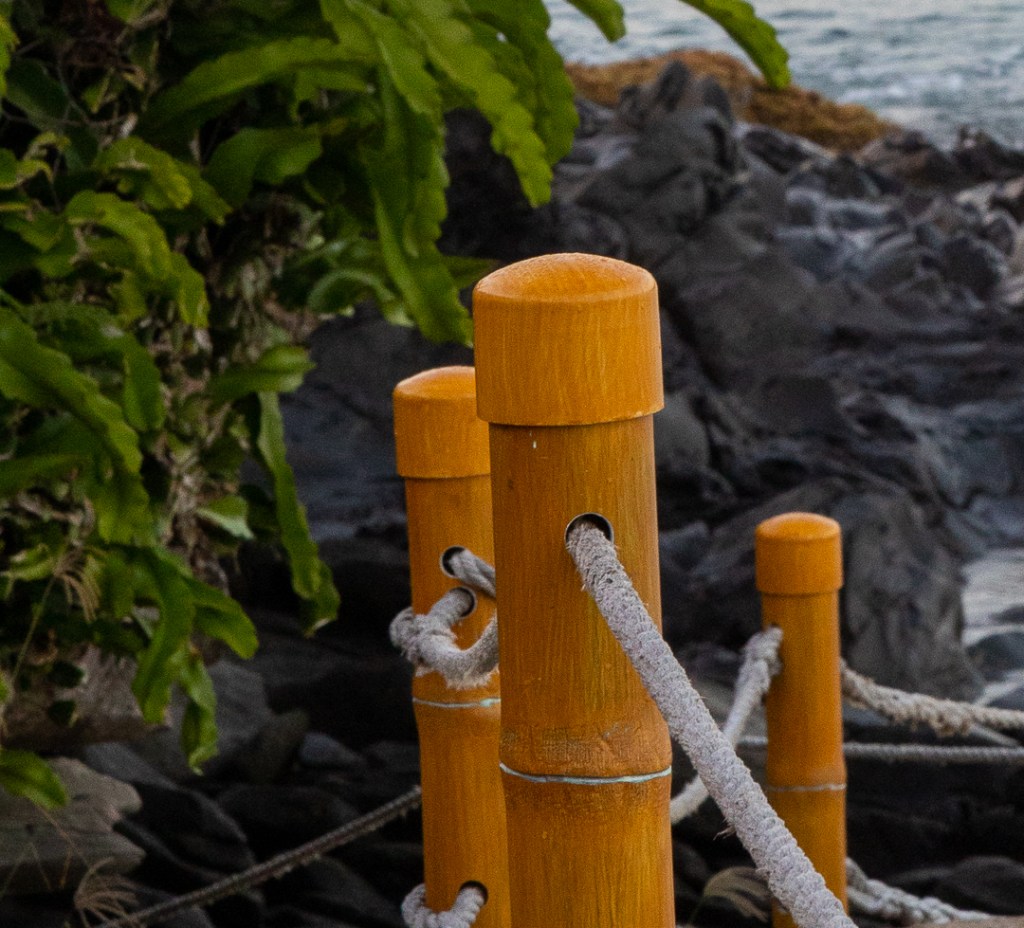
The images below are close-up segments of each of the two photos enlarged as they would likely appear if the entire photo were displayed at 100% and they are aligned directly under their full-frame counter-parts. The left image is in focus from the rope at the bottom image edge up to the rope entering the second pole and begins to blur at the back edge of that second pole. That blur is continued into much of the green plant and the rocks and the water. The beach segment below is even more out of focus, though you can still make out what are probably people and other details.
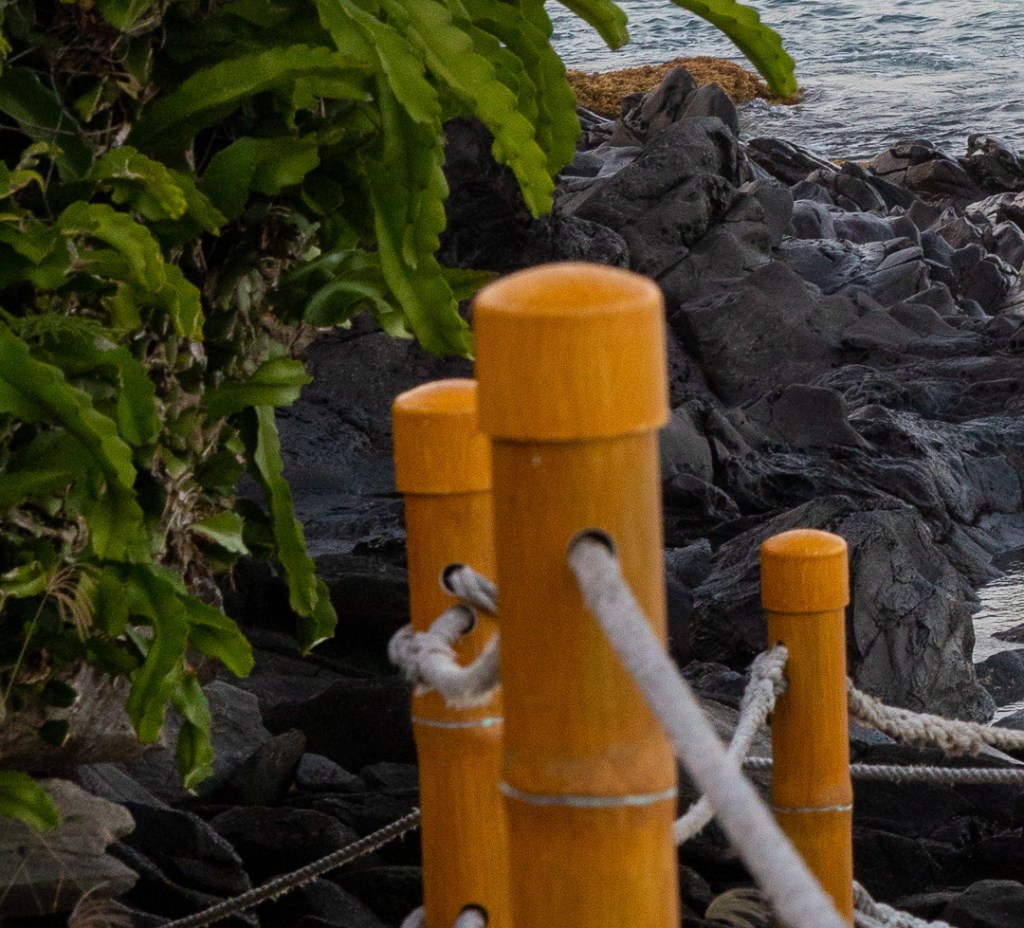
In the images on the right, the rope entering the image at the bottom is out of focus as is the first pole. Focus begins to return as the rope enters the second pole and everything after that that segment as well as the beach segment is in focus.
An important take-away lesson is that when the point of focus is very close to the camera, the DOF is very narrow while when the point of focus is further away from the camera, the DOF widens dramatically. I believe I could have gotten that entire scene in focus by simply stepping back a few feet and keeping the same point-of focus as I had in the second image and then cropping the resulting photo so that it began where the rope enters the frame.
Still there are situations where it might be impossible to get everything in focus. When that occurs there are techniques, similar to the wide angle stitching idea I mentioned earlier (called “focus stacking”). Also, there is a special focusing technique called “hyperfocal distance” which can be applied to maximize DOF. All topics for a different tutorial.
If you’ve made it all the way to the end of the post, I both thank you and salute your perseverance. Let me know if this was at all helpful or if you have questions or ideas for additional tutorials.

Thanks for the tutorial. I learned a lot by reading it and hope to take some of this advice on the field. have a great weekend.
LikeLike
Thank you for your very kind comment. I do appreciate the encouragement.
LikeLiked by 1 person